
Read our Guide on Filing Nil GSTR 1 Return on GST Portal
Should a dealer with Zero sales file GSTR 1?
A dealer has to file GSTR 1 even if he has no business activity in a month i.e. no sales in a month.
In case of no outward supplies, a dealer has to file a Nil GSTR 1
How to file Nil GSTR 1?
Here is a step-by-step guide on how to file Nil GSTR 1 on GST Portal –
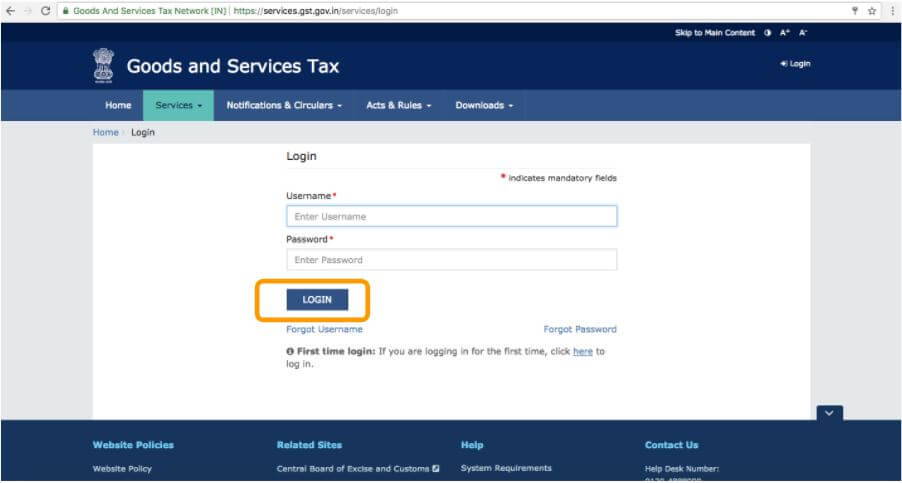
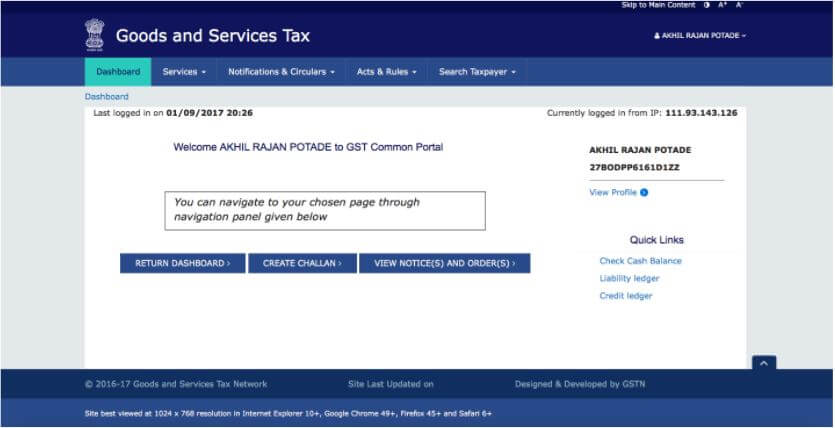
Step 1 – Login on GST Portal
Step 2 – Go to Services. In the drop down select Returns Dashboard.
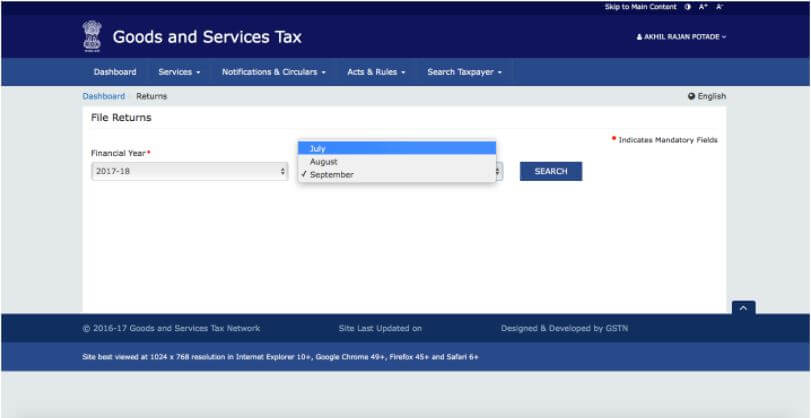
Step 3 – Select month and year of filing from the drop-down.
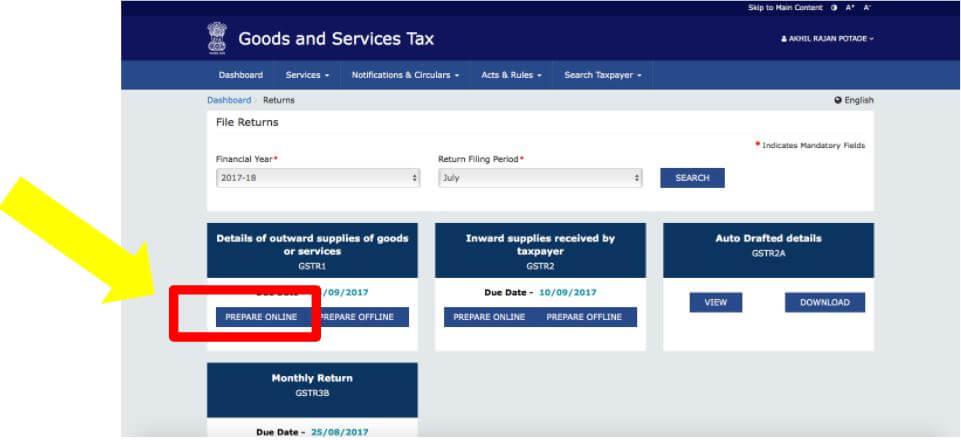
Step 4 – Click on Prepare Online under GSTR 1 tile.
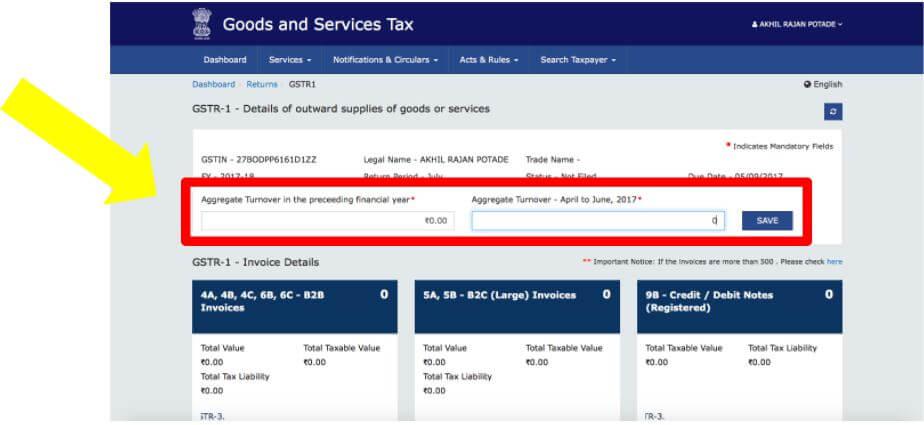
Step 5 – Enter details of Aggregate Turnover for Financial Year 2016-17 (i.e. for the period 1st April 2016 to 31st March 2017). Also Aggregate Turnover for the period 1st April 2017 to 30th June 2017 has to be provided.
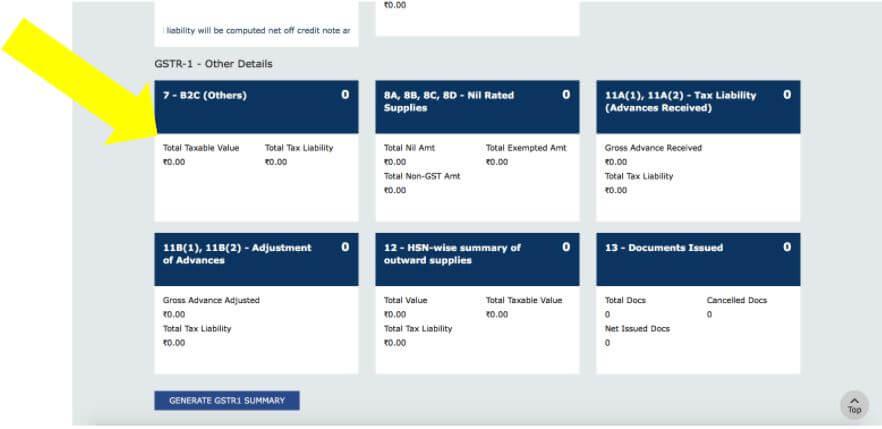
Step 6 – Under GSTR 1 – Others click on 7 – B2C (Others) tile.
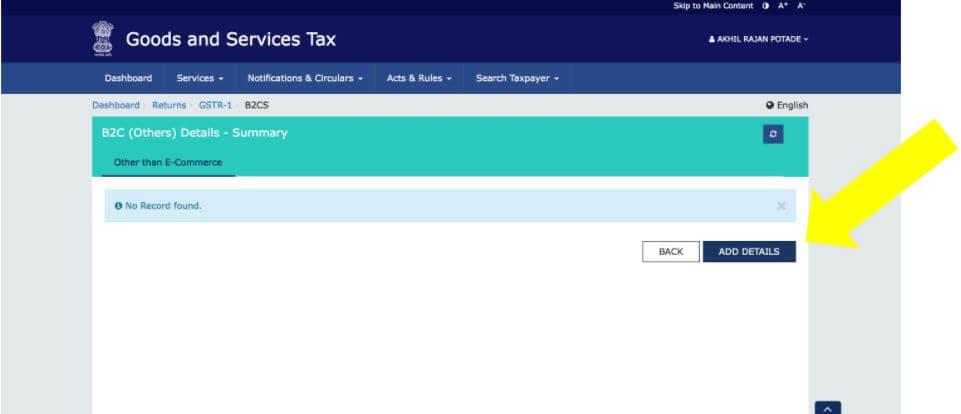
Step 7 – Click on ‘Add Details’.
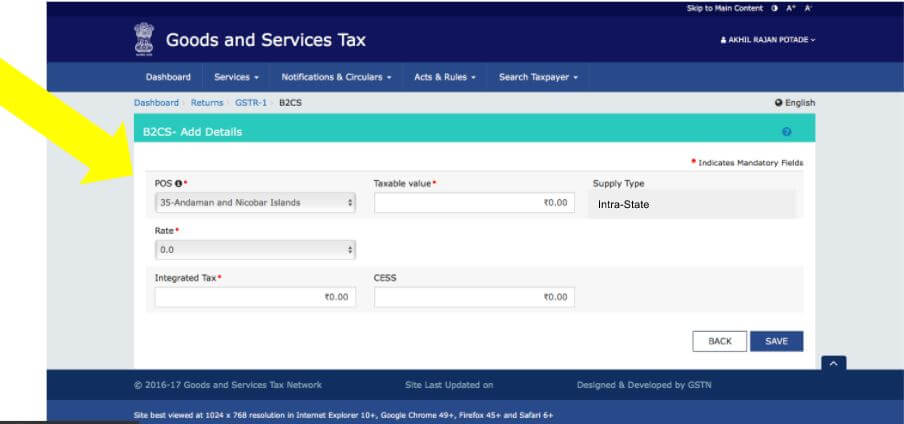
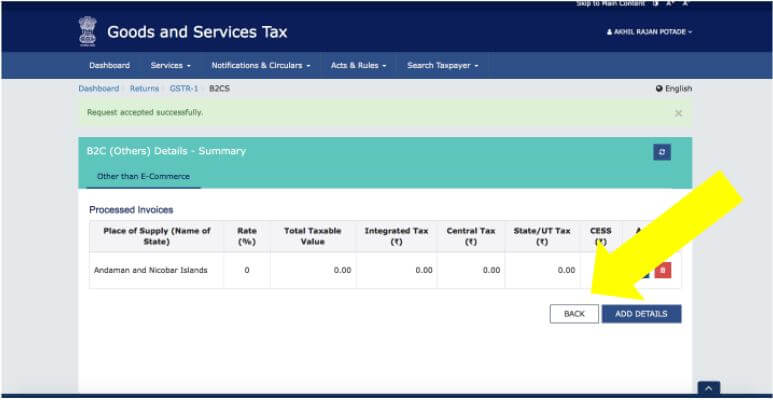
Step 8 – Choose POS (Place of Supply) from the drop down and enter 0.00 (ZERO) in other fields. Click on Save.
Step 9 – Once saved you can see the details entered by you in a table. Click on Back.
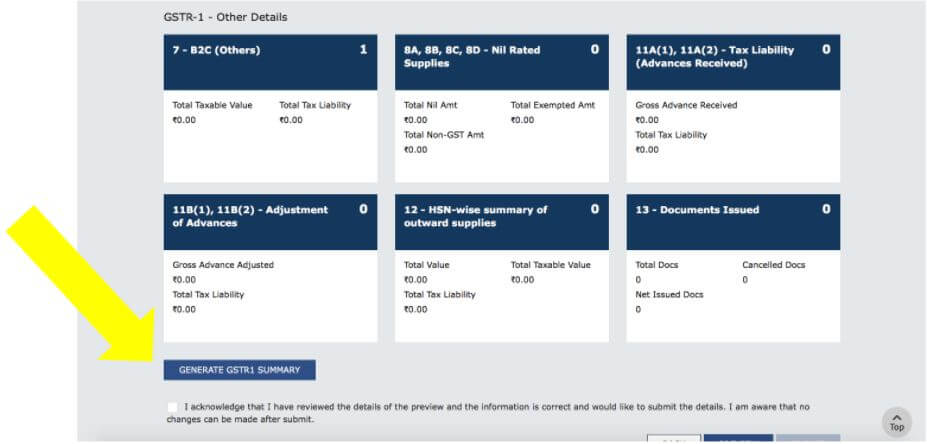
Step 10 – Click on Generate GSTR 1 Summary
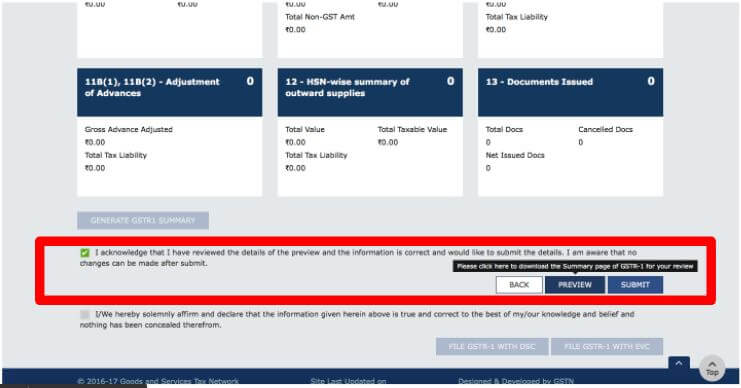
Step 11 – Select the check box and click on Preview.
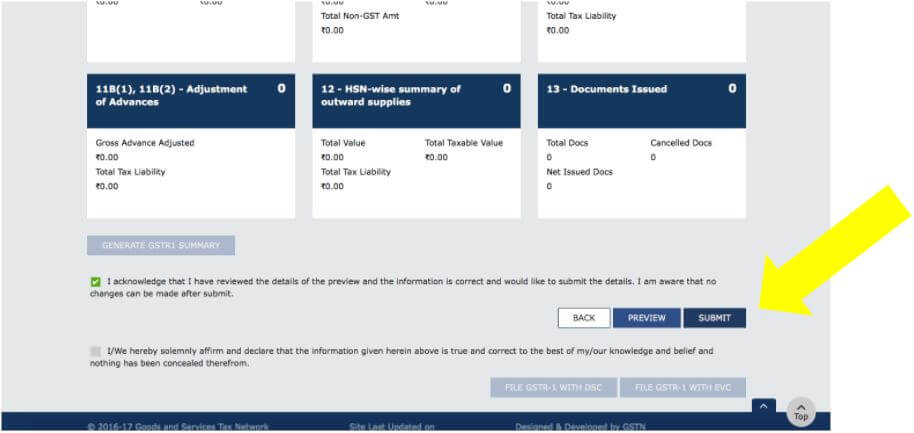
Step 12 – Click on Submit. You can file your return by either using DSC or using EVC. Based on the choice click on File GSTR 1 with DSC or File GSTR 1 with EVC and file your Nil GSTR 1.
Once the return is filed an Acknowledgement will be displayed stating that the return has been filed
No comments:
Post a Comment